A little story as to how I decided to write up this recipe for peanut butter cookies. My son has recently told me that he wants to serve a mission. If you are not familiar with this term a mission is for religious purposes.
Is when a person dedicates a time of their lives to serving and talking to others about Jesus Christ.
It’s been so tender for me to hear him talk about those moments. Even though he couldn’t go another 7 years, I believe he will go. He speaks about almost daily, and I know that he is the type of kids who cares deeply about others and doing what’s right and is not afraid to say it.
Since he was very little he was the kid who would remind his friends not to play a violent video game or to say bad words. He loves to follow rules at school and loves books. He is very knowledgeable on so many things so I know he likes to talk and be a teacher in a way
Because I can’t help it but think of how much I will miss him some day, and how much I will miss all of my kids once they will be off to college, work, marriage, life, travel, etc, I have been trying to compile recipes as much as I can just for them.
I learned to cook from my mom, but I have also kept many of her recipes. But because there was just one cook book, as siblings we often have taken turns keeping that book at our homes or have taken photos of it.
I want all the kids to have my recipes and have them in a format that won’t shred to pieces over time, so adding more of my recipes to this blog is the perfect way.
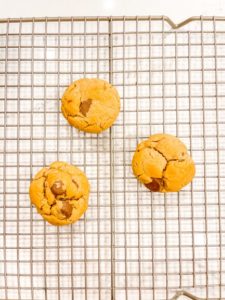
I love these cookies because they are a children’s favorite. I did not make them for a few years, but lately I decided to bust them out especially since Siena loves to ask her mom for Reeses Pieces.
I’d rather mix some candy with some real ingredients rather than eating it plain. My mom used to be the same. If I wanted some chocolate she’d remind me to at least spread it on some bread or eat it with something else so I wouldn’t solely binge on chocolate and fill fuller faster and with more nourishing foods.

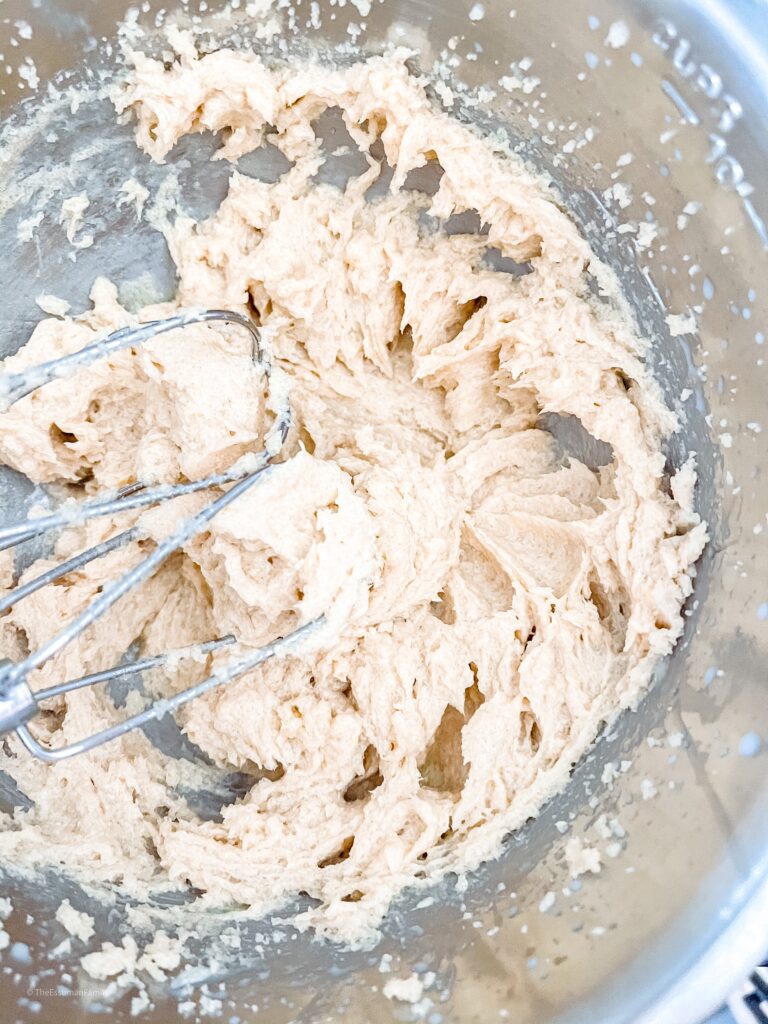
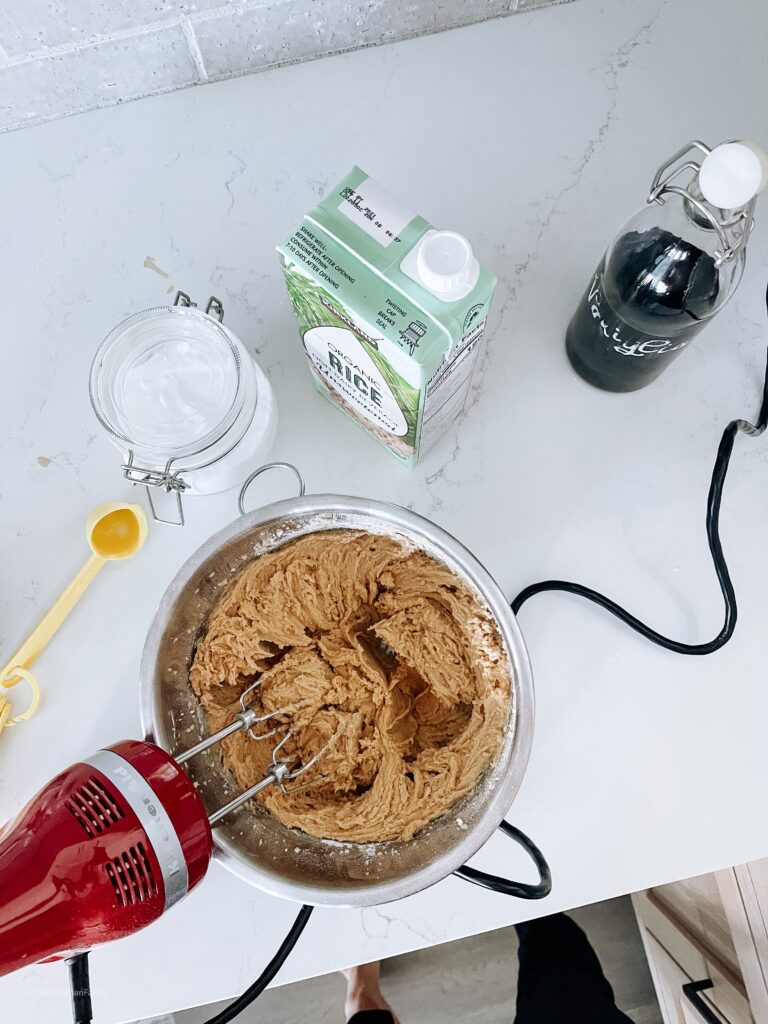
I am adding two photos to explain the cooking process over here.
- One that shows how light the batter will turn once you cream the sugars with the butter.
- The second one is the consistency and look of the dough.
This recipe for peanut butter cookie can also be made with chocolate chips instead of Reese’s Peanut Butter Cups. Just add the chocolate chips to the batter at the end and give it a gentle stir before placing on the baking sheet that way they are evenly spread out.
Peanut Butter Cup Cookies
Course cookies, Dessert
Cuisine American
Keyword cookie, peanutbuttercupcookie, reesescookie
These cookies are an awesome alternative to break up the traditional chocolate chip cookie. Made with miniature peanut butter cups. A simple recipe for happy tummies.
Ingredients
- 1/2 cup granulated white sugar
- 1/2 cup light or regular brown sugar
- 1/2 cup butter 1 cube, softened. Microwave for 12 seconds or allow to soften by letting it rest on the countertop a few
- hours prior to baking the cookies
- 1 tsp baking soda
- 1/2 tsp salt
- 1 tsp vanilla extract
- 2 tbsp milk rice milk is a great substitute
- 1/2 cup peanut butter
- 1 ¾ cup all-purpose flour
- 1 1/2 cup miniature peanut butter cups
Instructions
- In a medium/large bowl, begin by adding the brown and white sugar. Then add the butter. Mix with an electrical mixer or food processor the butter with the sugar. This process is the foudation to a good cookie. You will want to cream the sugar and butter until it’s smooth. The sugar granules have to break down as if were melting with the butter until they are completely smooth. The color of the dough will actually turn a little big lighter. This process will take a few minutes so be patient. You don’t need to blend at top speed, just keep blending and be patient.
- Once you are done, add the egg and gently mix at a low speed the egg with the butter and sugar cream until well imcorporated. As soon as it’s well mixed stop immediately blending. This will allow your cookies to not overwhip and remain compant. We are not making a flully cake, but a chuncky cookie that is why.
Next up, add the salt, vanillla, baking powder and gently allow it to mix in for a few seconds until it’s well imcorporated.
Now add the 2 tablespoons of milk. Measure 1/2 cup of peanut butter. If using the organic kind make sure to stir it first and if it’s too hard to mix, warm it in the microwave for at least 12 to 15 seconds. Then add it to the batter. Once the dough is nice and soft and well mixed, always done at a lower speed between 1 and 3, slowly begin to add the flour a little bit at a time. - This process can turn out to be a bit messy. Mostly powdery. So keep your blender at a low speed and gently keep mixing the flour in. Scrape the sides and bottom of the bowl so that your ingredients are all equally distributed amongst the entire bowl.
- Now that you are done you can add the peanut butter cups. You only want to stir them in for a few seconds. You could do it by hand as well by mixing them in with a ladel or spoon to avoid the blender from breaking your peanut butter cups.
- Your dough is now ready. If it’s looking too greasy or sticky, a great option is to allow it to cool in the refrigerator or freezer for a few minutes. You can heat up the oven in the mean time. This step is not necessary but can be helpful.
Place a sheet of parchment paper on your baking sheet, this allows your pan to last longer and the cookies won’t stick to the bottom. - Roll your cookies into balls. You can use an icecream scoop to help you make sure they are all the same size. Another great way is to use a small spoon and make sure you scoop out the same amount of dough each time.
For your cookies to bake evenly it’s important that they are all the same size approximately.
You can gently roll them into balls by using the palm of your hands, too. Don’t work them like play dough, don’t over do it. As soon as a somewaht circular shape has been formed, they are ready to place on the pan. - Make sure to leave about 1 1/2 inches of distance between each cookie since they will flatten and grow while baking
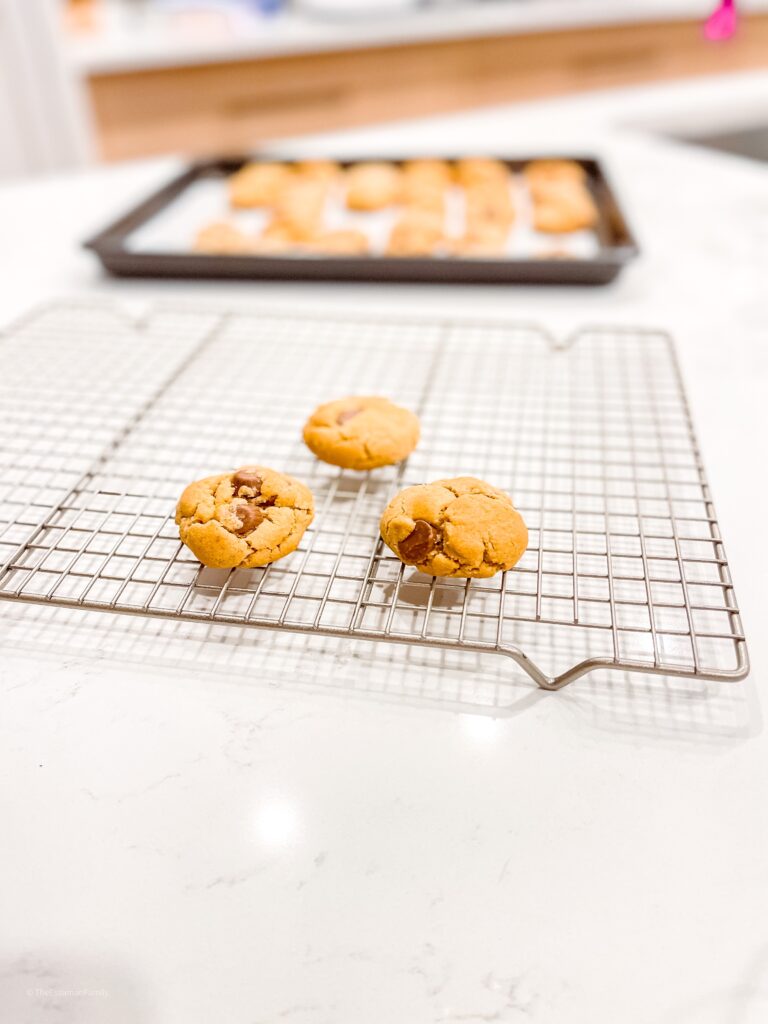
Bake in the oven at 375° for 8 minutes.
Allow them to cool for a few minutes outside of the ovens once ready. Enjoy!

0 Comments